Originally published in British Strength Magazine.
Welcome to the final instalment of Chasing Global Technique: the deadlift!
If you haven't read the previous articles in this series, I strongly encourage you to do so! As a quick recap, we broke technique down into biomechanical rules that apply to everyone, built on the concept that we're all the same animal, performing the same movements. With that, there are certain rules that apply to everyone. For each lift, there are three biomechanical rules. You can catch up on what good technique actually is, then the squat and the bench press.
The deadlift is no exception and follows the same trend. The deadlift, however, is unique in that it doesn't have an eccentric (lowering or "down") phase, meaning we start at the bottom and move up.
Simply put, in the eccentric portion of a lift we build stored elastic energy in the muscles, which then contributes to having more strength potential on the way up. In addition to this, your body will find the bottom position by automatically following the path of least resistance, meaning it's more likely to have a repeatable bottom position to move the weight from.
Imagine setting your max bench or squat on safety pins at the lowest point of the movement, crawling underneath the bar and trying to lift it up. Probably an impossible task, even though you can do it when it's more taxing from the top down.
The unique aspect here is that the lifter has the challenge of creating an eccentric effect in their setup, as well as trying to achieve a repeatable, optimal position to begin the concentric. So, let's discuss how to understand this, using the three biomechanical rules of the deadlift.
Rule 1: Where does the power come from?
The power in the deadlift is driven by the muscles of the legs and hips. In order for that power to be maximised, the hips and pelvis must be stable.
As with squats, the principle that must be achieved is torque: an isometric rotational force at the hip joint.
Conventional
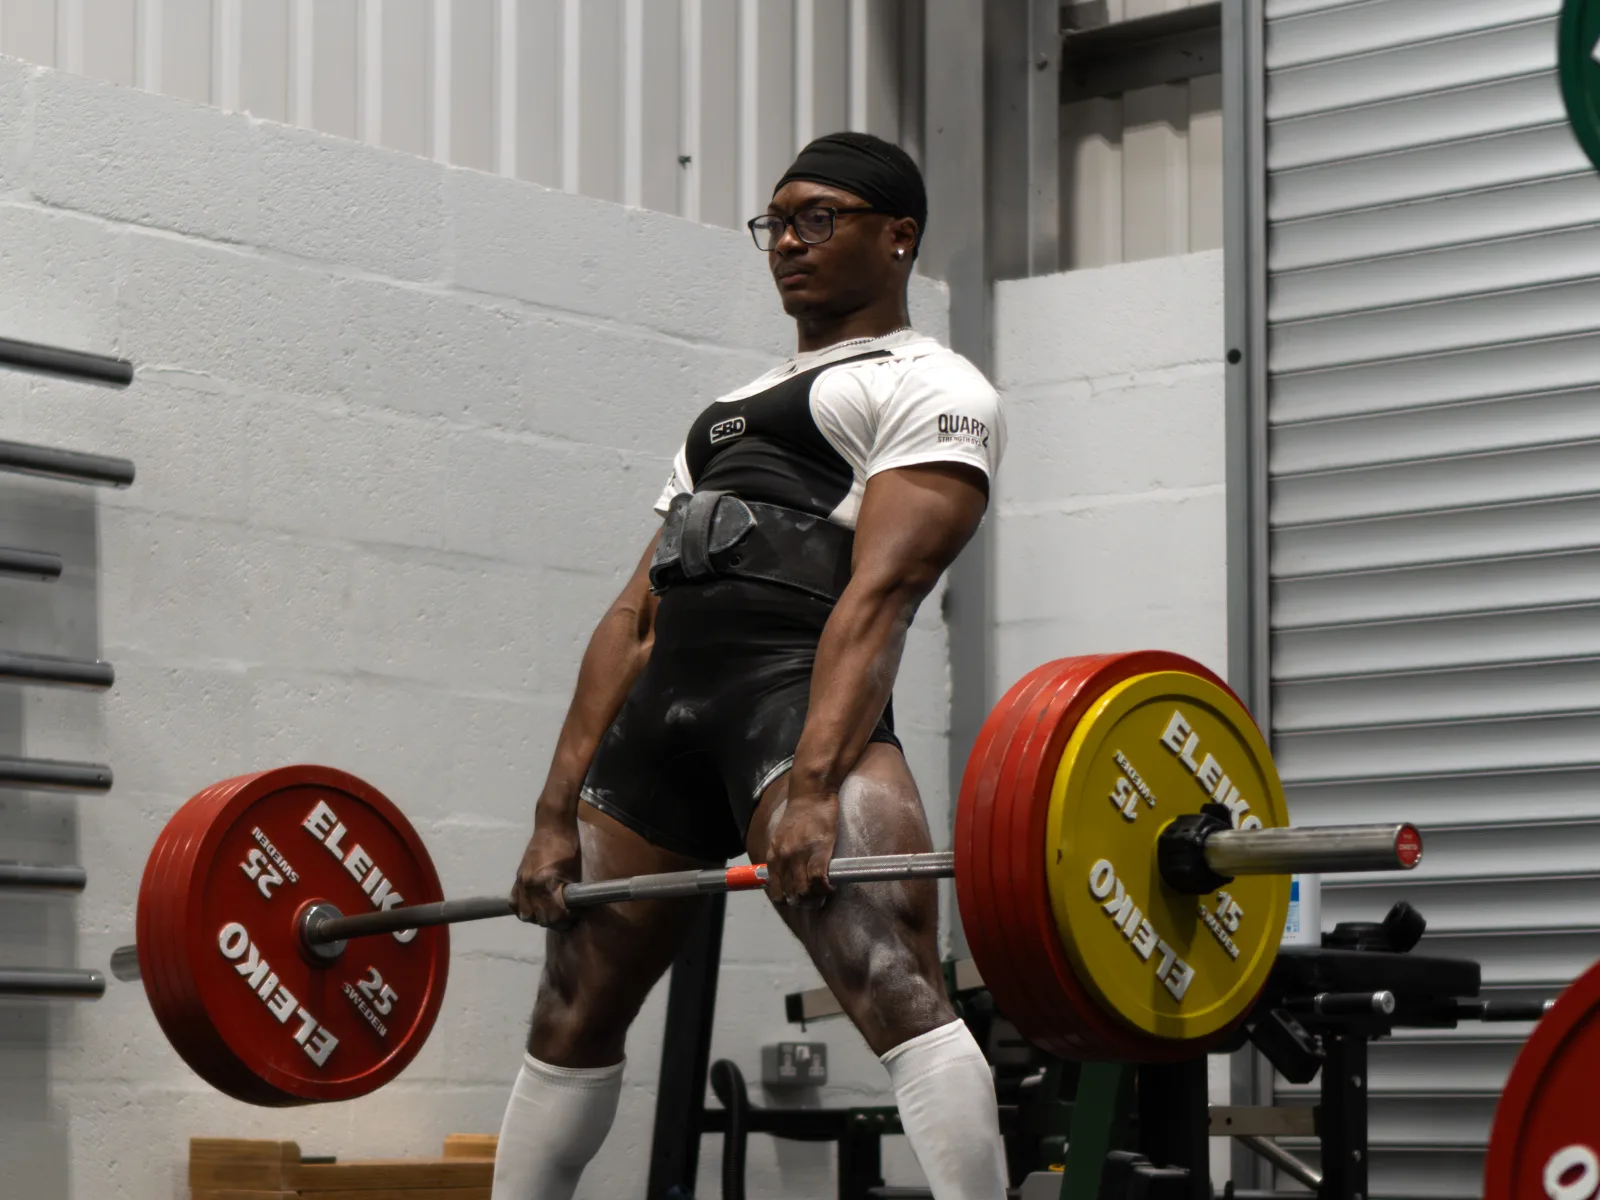
You will rarely see major breakdowns from the hips with the conventional deadlift due to the stance being predominantly neutral (stance width for conventional is usually hip-width with the toes forward), and the lack of range the hips travel through. Some markers of instability may be displayed, such as twisting or shifting, if the rest of the system is loose, or if the eccentric loading has been applied poorly.
As a result, this is relatively easy to control with conventional deadlifts, allowing lifters to push into the floor without much thought, to create the most power.
Sumo
The same principle applies to sumo deadlifts. However, the wider stance comes with a greater stability demand. As a result, the concept of controlling hip torque is crucial in a sumo deadlift in order to maximise the power created by the muscles of the legs and hips.
The stance width of the sumo will greatly influence the ability to create and maintain hip torque. We can observe this by splitting sumo stance width into three categories based on the angle of the shin when viewed from the front: positive shin angle, neutral shin angle and negative shin angle.
Positive. Feet inside the knees, AKA the semi-sumo. This puts an increased load in the quads and less emphasis at the hips, generally resulting in the worst of both worlds! This position tends to lose the leg drive component that conventional offers, and the reduced range of motion and hip drive that sumo offers. This is why you rarely see big deadlifters using this stance.
Neutral. Feet in line with the knees. This is where you'll see most sumo deadlifters gravitating towards, because it's typically the best place to balance the increased stability demand of a wide stance, and the ability to maintain that hip torque.
Negative. Feet outside the knees. This is reserved for people that have the flexibility to go wider and the stability to control their hips further. If lifters force this position without gaining the necessary control, it can result in them arching up, losing tightness and opening the door to anterior hip pain! However, if the lifter can stabilise their hips in this position, the reduced range of motion may allow for some extra kilos on the bar.
The toe angle, like squats, is also a consideration here as it will alter the torque equation at the hip. The more outward the toes face, the more external rotation emphasis there is. The straighter the toes, the more internal rotation bias.
Creating power in the sumo deadlift heavily relies on the ability to create and maintain torque at the hip. So, if you've ever wondered why you struggle with sumo, or can't do it at all, that's almost certainly the reason why!
Rule 2: Breathing and bracing
In the same way as squats, our job is to transfer the power created by the muscles of the legs and hips (rule 1) into the bar. Again, we need rigidity through the torso, as any looseness is an opportunity for power to leak from the system and potential for injury to creep in.
The nuance of the brace has already been explained in the previous articles. However, there is an important consideration more commonly seen in deadlifts.
This is where people actively engage global extension of the spine, which can disengage the brace. This results in an arched-up bottom position, or, more deceptively, a neutral torso with a poorly applied brace.
If the brace isn't correctly applied, then there will be a display of further imbalances and the power transfer from the legs and hips will leak at this point. This normally displays in rounding of the pelvis and lumbar spine, hips and knees shifting back, chest falling forward, and hitting a wall around the knees... if you even got that far!
The brace is the glue that connects the system together and is an integral part of the deadlift.
Rule 3: Upper back
To complete the power transfer to the bar, the last piece of the puzzle involves stabilising the thoracic spine and general upper back region. The complexities are still as apparent here as in the other two lifts, they're just a little less pronounced.
Shoulder stability
The shoulder stability aspect in deadlift rarely gets discussed, as rotation at the shoulder in the deadlift is normally just a by-product of the other two shoulder components.
Understanding rotation of the shoulder can be important, especially for mixed-grip deadlifters. For example, a lack of external rotation at the shoulder of their under-hand can potentially lead to drastic consequences: the dreaded bicep tear!
Scapular stability
There are two key components of scapular stability that are relevant here.
Scapular depression will couple with thoracic extension, contribute to shoulder stability, and shorten the lever arm of the torso. If scapular depression is engaged, there is less opportunity of getting pulled forward, and a lesser chance of rounding over.
Picture a fishing rod. The longer the fishing rod, the more you'll see the rod flex when there's a bite. I hate fishing, but I love this example. Be the shorter fishing rod and lock your shoulders down towards your waist.
Scapular retraction is undesirable here as it will shorten the arms, lengthening the range of motion. We don't want to retract the scapulae. Rather, we just want anti-protraction to keep the shoulders fixed in a neutral position and to prevent us from being pulled into a bad position.
Thoracic stability
The concept of thoracic stability provides rigidity and support to the thoracic spine and acts as an antagonist against the action of spinal flexion, providing dynamic stability for the torso.
In English: we don't want true extension of the spine because, as we established earlier, this disengages the brace. We want anti-flexion, which will complete the power transfer link from the legs, through the brace, into our back, down our arms and into the bar!
The setup and starting position
With these three rules applied correctly, it will give the lifter the fundamentals to perform a gold standard sumo or conventional deadlift. There is, however, one more thing that we need to consider: the setup and starting position.
How a lifter sets up and the position they pull from are of utmost importance to the quality of the movement. Any technical breakdown that happens later in the lift is almost always due to an issue with their setup or starting position. So, it is crucial to get this right.
There is a lot of misinformation and grey area when understanding the perfect start position. Thankfully, there are some concrete principles that we can apply to the ideal starting position for both sumo and conventional.
The perfect start position
- Neutral spine with the brace engaged.
- Arms perfectly perpendicular to the floor (when viewed from the side), with the upper back engaged.
- Shins in contact with the bar.
The stipulations of "with the brace engaged" and "with the upper back engaged" are indicative of the rules that have been laid out. If you apply this perfect start position but hide your poor brace with a straight back and leave the upper back disengaged, then the perfect start position will not be fulfilled.
This perfect start position is true for the sumo deadlift too, but there should be no forward knee travel. Shins should be perpendicular to the floor when viewed from the side.
At this point, it should provoke some thought that the conventional and sumo deadlift are far more similar than they are different. The main difference happens at rule 1, but, fundamentally, the power is generated from the same place and travels through the systems in the same way. Rule 1 alters the loading emphasis, and this gets displayed differently based on individual difference (limb and torso length and body type).
Summary
These biomechanical rules, and applying them into the perfect start position, will create a gold standard conventional or sumo deadlift.
Individual considerations in stance and grip will be a result of applying the principle of the rule and allowing it to be expressed through the subsequent systems.