Originally published in British Strength Magazine.
In my previous article, I discussed the points around having a globalised technical model that people should be striving towards: a gold standard.
Every person or coach has an image in their mind of what good technique is. Explaining this objectively can be difficult and often has contradictions in the attempted definition (and we can't be basing a gold standard on a flawed definition).
I go into greater detail in the first instalment of the Chasing Global Technique series, so check that out first.
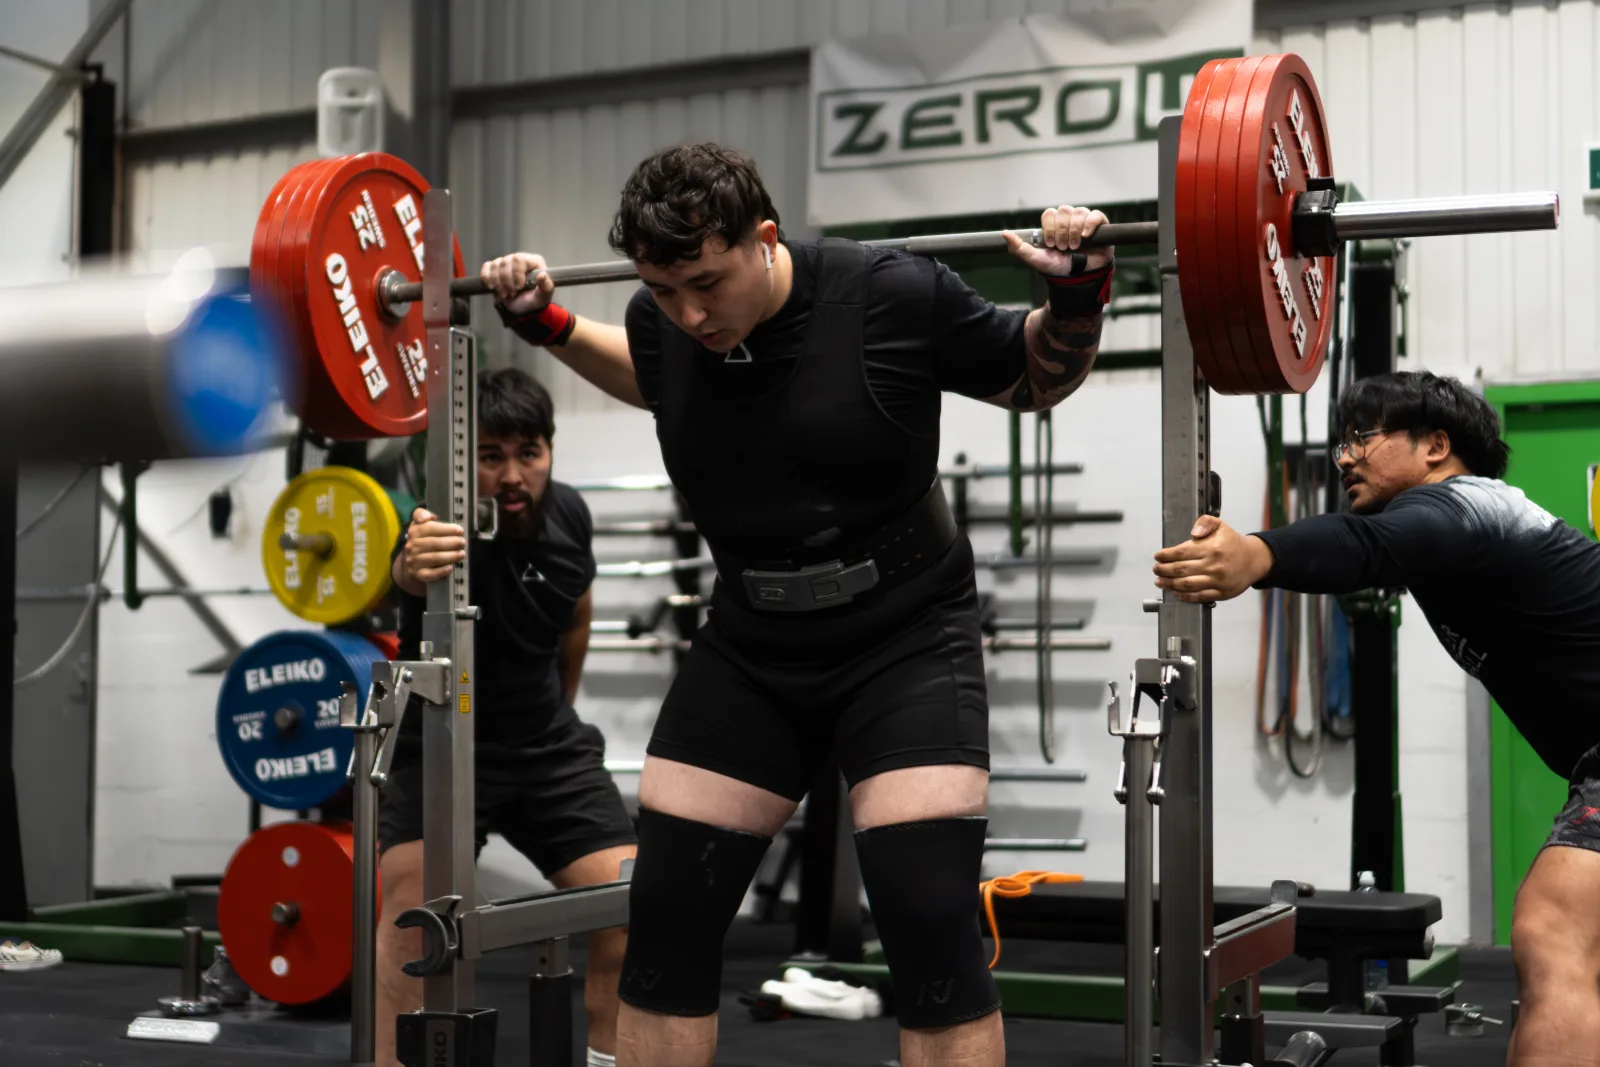
In future instalments, we'll be breaking down the main movements, squat, bench press and deadlift, so we can extract a gold standard to work with. We'll be starting with this instalment, focusing on squats.
Firstly, we need to provoke some thought around understanding the biomechanical similarities we have. From there, we can then acknowledge individual differences. We all have muscles and joints that work in fundamentally the same way. Therefore, when we challenge movement at these joint complexes, there will be principles that apply to everyone.
There are three biomechanical complexes we deal with in the three lifts, which will hereafter be referred to as three biomechanical rules. These rules are categories, and a set of principles, that help diagnose technical breakdown and create a problem-solving pathway toward achieving gold standard technique.
Each rule is not mutually exclusive, however. As such, we need to understand the elements of each rule thoroughly.
Rule 1: Where does the power come from?
Power in the squat is driven by the muscles of the legs and hips, primarily quads and glutes. In order to maximise access to that power, the hips and pelvis must be stabilised. This will be the crux of rule 1.
The concept of torque
Stability of the hips in the squat relies heavily on the principle of torque (rotational force), as it relates to control of the rotational aspect of the joint.
In the squat, we are trying to find a balance between external and internal rotation at the hip joint. This co-contraction creates isometric tension, which stabilises the joint as it moves through flexion and extension.
In English: it makes the hip stable, allowing the knees to travel straight forward and back as you squat down and up, and not move in or out.
The pelvis is a subsystem that gets impacted by this concept too, but will have more influence from rule 2 (bracing). Nevertheless, it gets impacted dynamically by the muscles of the legs and hips to prevent anterior pelvic tilt (arching of the lumbar) and posterior pelvic tilt (butt wink).
Any movement downstream at the knees and ankles is a consequence of instability at the hip. Think of this like a tree swaying in the wind: you will see more movement further away from the base.
The characteristics of unstable hips get demonstrated with markers such as caving knees, caving ankles, over-abduction (knees too wide), ankle eversion (rolling onto the outside of the feet) and/or teetering onto the balls or heels of the feet. What happens downstream tells the story of the issue that needs to be corrected at the hip. For example, excessive caving of the knees means the lifter is unable to maintain the external rotation and abduction aspect of hip torque.
Now that the rule has been established, considerations can be made for the individual. With rule 1, the individual consideration is stance width and toe angle. Adjusting these factors will change how an individual can express the requirements of rule 1. For example, a wider stance requires more flexibility and control of abduction and external rotation. A narrower stance requires more flexibility and control of adduction and internal rotation. Stance, thereby, can be adjusted to move an individual closer towards being able to express rule 1 without any changes to their current flexibility or strength.
The toe angle affects the torque equation too. For example, a more angled foot (toes turned out) emulates more external rotation and abduction, without having to widen the stance. This generally provides more room to move by reducing torque. A straighter foot (toes pointing more forwards) emulates more internal rotation and adduction, without having to narrow the stance. This generally increases torque, tightening the system.
To summarise rule number 1: the global principle that applies to everyone is the concept of torque (rotational force). Everybody has a hip and pelvis, and by stabilising the joint through space, the most efficient transfer of power can occur. Individual consideration can be made by adjusting the stance width and angle of the foot.
Once we create power, we need to do something with it. That's where the next rule comes in.
Rule 2: Breathing and bracing
Breathing and bracing is probably the most agreed upon biomechanical rule in strength sports. Nobody has ever said, "okay now, breathe out, get as loose and floppy as possible, and relax as you squat up and down"... Or at least I hope they haven't anyway!
Once we create power with rule number 1, we need to transfer it to the bar. Power transfer will occur most efficiently through a rigid system. Rules 2 and 3 go together to link the chain between where power is being created and where we want it to go. Any slack in that chain will be an opportunity for power to escape and for the potential risk of injury to enter the system. Essentially, bracing is the glue that holds the power chain of the squat together.
Bracing has important implications for both the pelvis and the lumbar spine, as well as its contribution to thoracic and shoulder stability. When the brace is correctly applied in the squat, it enables the musculature of the lower abdomen to stabilise the pelvis, which contributes to the efficacy of rule number one. This engagement of the musculature of the lower abdomen will contribute to support of the lumbar spine and stability of the torso. This acts as an antagonist of the musculature of the back, to control a neutral torso position through the movement.
In the lumbar region, the only structural contribution is the spine itself. That is, there are no other bones to provide structural support. This is where a belt comes into play and why lifters use it in squats. The belt acts as an exoskeleton to enhance the intra-abdominal pressure created by the brace, as well as a cueing tool for external feedback around engagement of the brace. That's why when most people put a belt on, they feel stronger and more stable.
Bracing is a complex skill and system in and of itself. A complete article could be written on bracing alone. For simplicity's sake, bracing is the action of a forced exhalation against a blocked airway. That is, trying to push air out, without letting any air out.
So many issues in the squat can be traced back to poor bracing. Bracing is typically poorly taught and poorly understood, but we're trying to fix that, one article at a time! Once the brace has been implemented, we need to complete the power transfer link, and that means we need to understand what's going on with the upper back and shoulders.
Rule 3: Upper back
The last piece of the puzzle involves stabilising the shoulders, scapulae and thoracic spine: the connection point of the bar to the lifter.
While often over-simplified, it's actually relatively complex and can be a confusing subsystem of the squat. Understanding its function and importance is paramount to developing the best squat possible and fixing the numerous problems that can arise.
We can split the upper back up into three major categories: shoulder stability, scapular stability and thoracic stability.
Shoulder stability
The low bar position is a demanding and, sometimes, compromising position to be in. Like the hips, support of the shoulder joint relies on the principle of torque. The external rotation requirement is the lifter's ability to rotate back to get their hands on the bar. The internal rotation requirement is to create the torque by positioning the elbows slightly back, but not forcing this position.
The principle of torque relies on the rigidity of the wrist. If the wrist rolls (backwards being the most common) as the squat is happening, this will create some instability at the shoulder. Powerlifters will utilise various grips to ensure they can a) get their hands on the bar and b) keep their hands on it!
Grips such as pinkies under, pinkie and ring finger under, thumbs over, etc. are playing with the torque relationship at the shoulder.
To make this easier to understand, see the wrists as feet. The more you point your toes out on the squat, the less torque demand there is at the hip, therefore making it easier and looser to move through space.
So, the same applies at the wrist. The more the hands turn out (or wrists roll back), the less torque demand there is at the shoulder, which can make it easier for people to grip and control.
Scapular stability
In order to create shoulder stability, the shoulder joint itself must be translocated into a position that best facilitates it.
Scapular control not only creates that position, but is also fundamental in contributing to rigidity and support through the upper back, creating the low bar shelf.
The three characteristics of scapula control we want to see in the squat are retraction, depression and anti-tilt.
Retraction will create the low bar position and translocate the shoulder back. Depression will shorten the lever between the bar and the hip and enhance the link between rules 2 and 3. Anti-tilt refers to keeping the scapulae from tilting forward, also known as scapular winging.
Shoulder and scapular stability are important in supporting the shoulder joints themselves and preventing the host of neural issues that can stem from improper positioning and engagement of the upper back. The common pain from low bar squatting is generally referred to as "bicep pain" or "elbow pain", and is actually a neural referral pain that radiates in the arm, typically felt in the biceps, elbows and forearms. Getting on top of the control of rule 3 can mitigate the occurrence of this.
Thoracic extension
The action of thoracic extension provides rigidity and support to the thoracic spine, feeds into overall engagement of extension of the spine and acts as an antagonist against spinal flexion (created by bracing), providing dynamic stability for the torso.
In English: the brace will try to round you forward, the upper back will encourage an arch. If both act against each other, it will create dynamic stability in a neutral, rigid position.
Thankfully, the three categories, shoulder stability, scapular stability and thoracic stability, move with each other, and can generally be addressed at the same time with drills and exercises.
Summary
These three biomechanical rules are the fundamental principles that underpin the gold standard technique of barbell back squats. The three rules refer to subsystems that every human possesses and allow us to standardise technique. Furthermore, individual considerations can then be made within the rules once they are understood. Any deviations or discrepancies from one of the rules can impact the other and disrupt the entire system.
Implementing the three rules will produce consistent technique across a broad spectrum of individuals of different shapes and sizes, which will, in turn, produce consistent results.
Next up: Part 3 applies the same three rules to the bench press.