Originally published in British Strength Magazine.
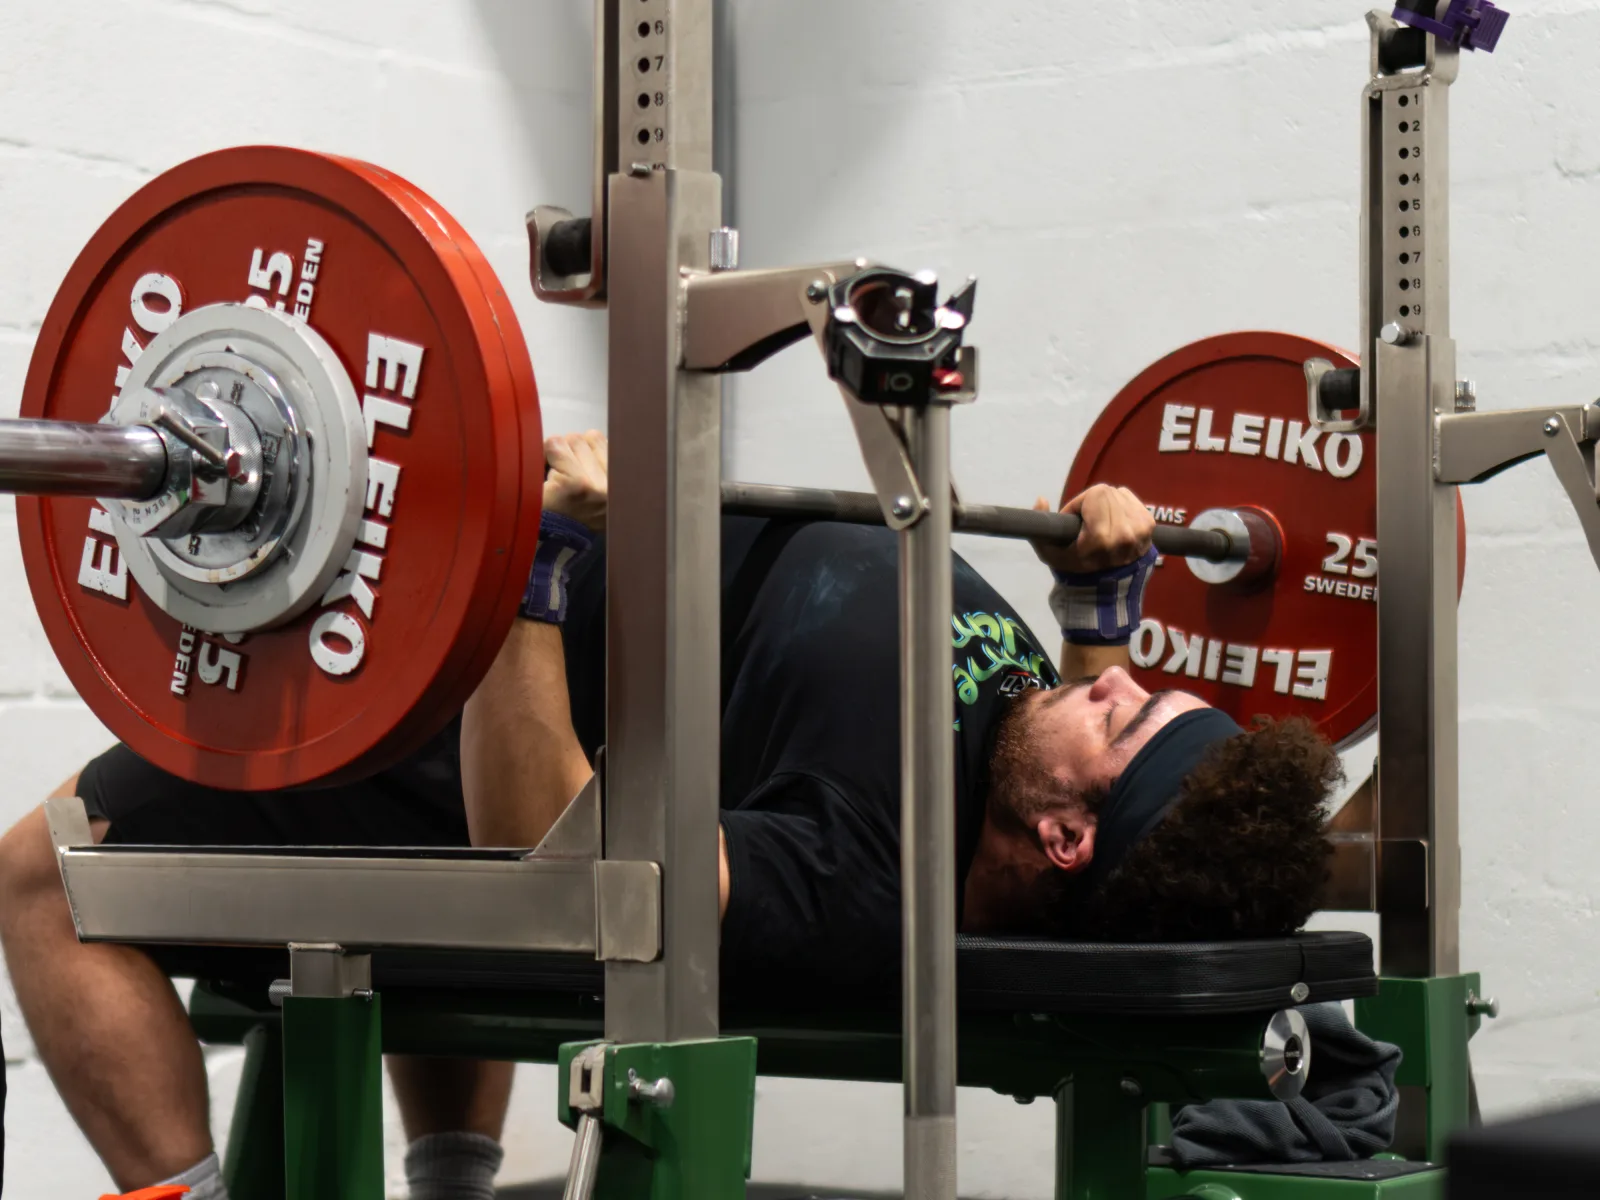
When we watch people perform a bench press, it becomes apparent that there are a lot of visual differences between people: how they set up, how they grip the bar, their arch, foot placement, etc.
You'll generally see certain archetypes with similar qualities. For example, lightweight, flexible lifters tend to have bigger arches, wider grips, and a light touch on the chest. Whereas heavyweight lifters tend to have limited arches, narrower grip widths (relatively) and often sink the bar into the chest. In the pursuit of global technique, we need to be able to assess why these differences exist. Being able to answer these questions will help us understand, coach and problem-solve the bench press.
The why to these questions can be answered by the principles that produce a gold standard bench press. In this article, I'm going to unpack the bench press in the same way I did for squats, using three biomechanical rules. If you haven't read it yet, my article on squats sets out the same three rules for that lift.
Rule 1: Where does the power come from?
In the bench press, the power is generated from the muscles that flex the shoulder and extend the elbow, primarily the pectorals and triceps. There are secondary and tertiary inputs from other muscle groups (anterior deltoids and biceps). However, for the sake of simplicity, the pecs and triceps are the prime movers we are concerned with.
To simplify rule 1, think about the concept of leverage using a deadlift jack. Using the deadlift jack, we can easily lift 300kg off the floor with one hand because of the mechanical advantage of leverage. This works because the leverage point, where the handle meets the base, is fixed. If that leverage point was a spring, it wouldn't work.
The job of the pec is to lever the arm across the body. In order to maximise our ability to do this, the leverage point, the shoulder, needs to be fixed. We know the shoulder joint has a lot of movement options. Therefore, rule number 1 is centred around fixing our shoulder into position so that the muscles moving on it can do their job in the strongest way possible.
Fixing the shoulders into position works in much the same way as with squats, and we can split the upper back complex into the same three categories: shoulder stability, scapular stability and thoracic extension.
Shoulder stability
Unstable shoulders will reflect downstream in unnecessary movement of the elbows and wrists, just like unstable hips on squats are reflected by movement of the knees and ankles.
Luckily for us, shoulder torque doesn't require much conscious attention, because it's mostly a by-product of scapular stability. When we pull our shoulders back and down, force-coupling occurs, and we externally rotate the shoulder. When we press the bar from our chest this creates internal rotation. By holding the "back and down" position whilst pressing up, we create torque which secures the shoulder joint in place.
A rigid wrist is important in maintaining this stability. Torque assumes that both ends of the system are fixed. Movement at the wrist allows tension and torque to escape. Wearing a wrist wrap can help maintain the integrity of the wrist position and, in turn, support shoulder stability.
Scapular stability
Scapular stability serves to set the shoulder joint into a fixed position and provide a rigid point of leverage. Scapular stability is achieved by accounting for three movements: retraction, depression and anti-tilt.
Scapular retraction
Pulling the shoulders back into retraction serves to reduce the range the shoulder must travel into extension, which inherently will reduce the stability demand.
It also couples with the engagement of the muscles responsible for supporting the thoracic spine, which contributes towards the base from which we press.
Scapular depression
Pulling the shoulders down allows us to shift the centre of gravity down our body, to a point where our chest is higher, further reducing the range and consequent demand on stability.
People like to talk a lot about bar path and touching a particular point on the chest. This is dictated by scapular depression and the lifter's ability to hold that position as they press the bar up. In other words, the bar wants to finish at lockout directly over the scapulae. If the position of the scapulae differs from the touch point on the chest, the bar won't move in a straight line upwards. This is why a lot of lifters press back in a diagonal line or a "J" bar path, because the bar is moving back to match the loss of scapular depression, or the absence of it in the first place.
Scapular depression is also coupled with external rotation of the shoulder (force-coupling that contributes to shoulder torque) and thoracic extension. Both of which are important components of a stable position to press from.
Anti-tilt
Shoulder imbalances are quite common with the positions we are trying to achieve on bench press. Controlling the scapulae while going into the end ranges of shoulder extension can be difficult and demanding. The body will accommodate the movement the brain is telling it to do, and, in the absence of the ability to maintain retraction as the shoulder goes into extension, the scapulae will tilt forward (sometimes referred to as winging). Visually, this is generally represented in several ways: a shoulder that moves higher into elevation and/or rounds forward slightly, the wrist flexing more, the elbow "tucking" more, the bar moving at an angle, etc.
In order to create the most stable position to press from, tilting of the scapulae needs to be eliminated. The serratus anterior muscle attaches to the medial aspect of the scapula and fixes it to the rib cage. In the absence of strength or control of the serratus anterior, the scapulae may tilt while going into extension. Fixing tilting of the scapulae often means addressing issues or weaknesses in the serratus anterior, rather than simply cueing.
Thoracic extension
Thoracic extension is the last piece of the puzzle regarding the base from which we create power.
Thoracic extension contributes to reducing the range through which the shoulders must travel. It also couples with scapular depression and external rotation of the shoulders, and, to some extent, scapular retraction too.
So, although the individual components are numerous and appear complex, they feed into one another, making for the neat combination of "shoulders back and down, chest out" that is commonly spoken about when discussing bench press.
Rule 2: Breathing and bracing
Although often overlooked in the context of bench press, bracing is a fundamental component that is paramount to the best possible performance of the lift.
The actual process of breathing and bracing is no different to squatting. However, unlike squats and deadlifts, we don't need to be mindful of a neutral spine, as we're actively creating as much extension as possible.
One of the most important implications of bracing during bench press is its implication with power transfer at the shoulders.
When we brace, we essentially anchor our sternum. This means that the power generated by the pecs won't be lost in movement through our sternum or rib cage, but rather be directed to where we want it to go: the shoulders.
Bracing is inherently linked to overall upper back stability, due to its action being coupled with depression of the scapulae and engagement of the lats (when applied correctly on the action of the exhale).
Bracing also helps create overall dynamic torso stability, by acting as an antagonist to extension of the spine. This is important in allowing for power transfer from the legs into the bar. So, like with squats, we can view bracing as the glue that holds the system together.
Rule 3: Leg drive
While the primary driver of the bench press will be the upper body, the importance of the lower body cannot be understated. More correctly put, leg drive in bench press is the action of hip extension: driving the hips back towards the shoulders.
Proper engagement of the hips will transfer power from the legs and hips, through the natural curvature of the spine, down into the bench. This is a simple Newtonian law, whereby more force going down into the bench equates to the potential for more force to be put up into the bar.
Not only that, but leg drive will also contribute towards overall stability of the system, by being our point of contact to the floor. This is an important stipulation because it can determine whether someone may prefer to bench with a flat foot, or up on their toes.
An important consideration here: sometimes there must be a trade-off made between the structural advantage of a big arch, and the mechanical advantage of good leg drive. The further a lifter can get their feet back, the bigger the potential arch, but the less potential leg drive. This can be an important consideration to create the strongest outcome for the lifter.
Summary
Despite the visual, individual differences we see on bench press, there are still set principles across the three rules that everyone should be striving towards. If each rule and stipulation of each rule is well applied, then we will be seeing a gold standard bench press.
The series finishes with Part 4: the deadlift, and the perfect start position.